
Why Installation Matters More Than You Think
Investing in a ProMariner battery charger is one of the smartest moves you can make for your boat, RV, or specialty vehicle. Known for their reliability, smart charging technology, and rugged design, ProMariner chargers keep your batteries healthy and your adventures uninterrupted.
But here’s the catch: even the best charger in the world won’t perform at its peak if it’s installed incorrectly. In fact, improper installation can lead to everything from reduced charging efficiency to electrical hazards and shortened battery life. That’s why we’ve put together this guide to highlight the do’s and don’ts of installing a ProMariner marine battery charger—so you can get the most out of your investment.
The Do’s of Installing Your ProMariner Marine Battery Charger
Do Read the Manual Thoroughly
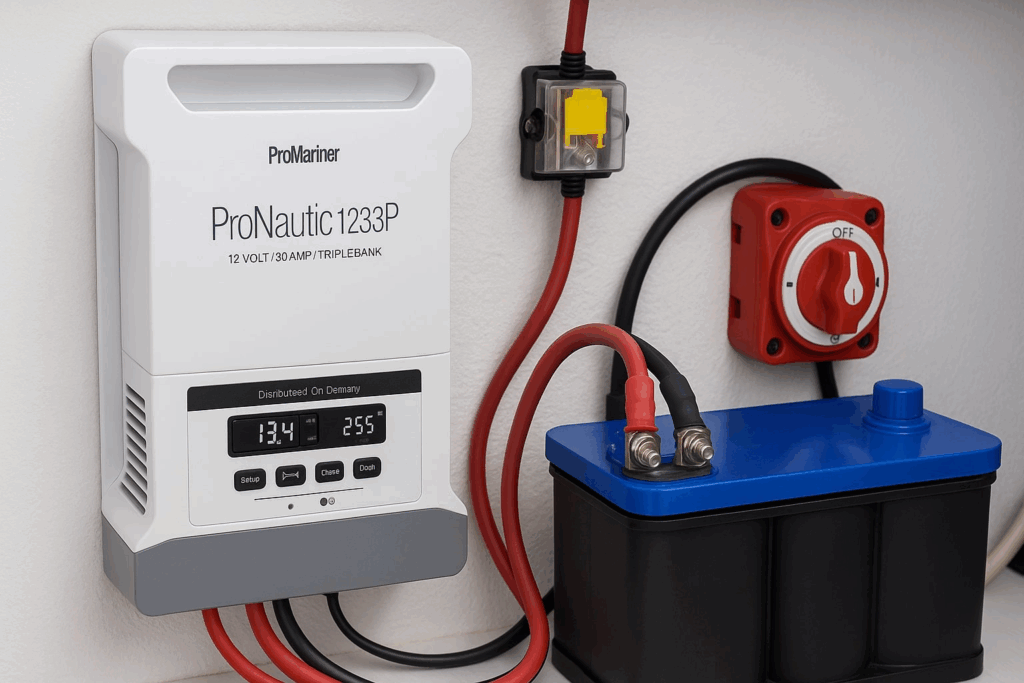
Every ProMariner charger model—whether it’s the ProNautic P Series or the ProSport Series—comes with a detailed installation manual. Take time to study it. The manual outlines wire gauge recommendations, mounting positions, ventilation requirements, and safety tips specific to your charger.
Do Choose the Right Location
Your charger should be mounted in a cool, dry, and well-ventilated area. Avoid placing it in spots where it’s directly exposed to water spray, engine heat, or fuel vapors. ProMariner designs their chargers to be rugged, but even the most durable units need proper placement to ensure long-term performance.
Do Use the Proper Wire Gauge and Fuses
One of the most common mistakes DIY installers make is using the wrong wire size. Undersized wires can overheat, leading to power loss or even fire risk. Always follow ProMariner’s recommendations for wire gauge based on the distance between the charger and the battery bank. And don’t forget: install fuses or breakers as required for additional protection.
Do Mount the Charger Securely
Your ProMariner marine battery charger should be firmly mounted to minimize vibration and shock—especially in boats or specialty vehicles where constant motion is a given. Loose installations can stress the unit and lead to premature failure.
Do Double-Check Polarity
Connecting the positive and negative leads incorrectly is a classic mistake that can damage both the charger and your batteries. Take your time, label wires if necessary, and confirm connections before powering on.
The Don’ts of Installing a ProMariner Battery Charger
Don’t Install in a Sealed Compartment
Your charger generates heat as it works, and it needs ventilation to stay cool. Installing it in a sealed or poorly ventilated space can cause overheating, reduced performance, or even automatic shutdowns.
Don’t Mix Old and New Batteries
Even though this isn’t a direct installation step, it’s crucial: never connect your ProMariner charger to a mix of old and new batteries. Doing so can lead to uneven charging and shorten the lifespan of your entire bank.
Don’t Ignore Grounding
Grounding your charger properly is not optional—it’s essential for both safety and performance. Skipping this step increases the risk of electrical faults, interference with other onboard electronics, and even potential shock hazards.
Don’t Use Subpar Mounting Hardware
Using the wrong screws or flimsy brackets might save a few minutes during installation, but it will cost you in the long run. ProMariner chargers are built to last, and they deserve installation hardware that’s equally durable.
Don’t Rush the Job
Installing a ProMariner battery charger is not a “five-minute project.” Take your time to measure wire runs, check clearances, and verify connections. A rushed installation often leads to costly mistakes that could have been avoided.
Common Mistakes to Avoid
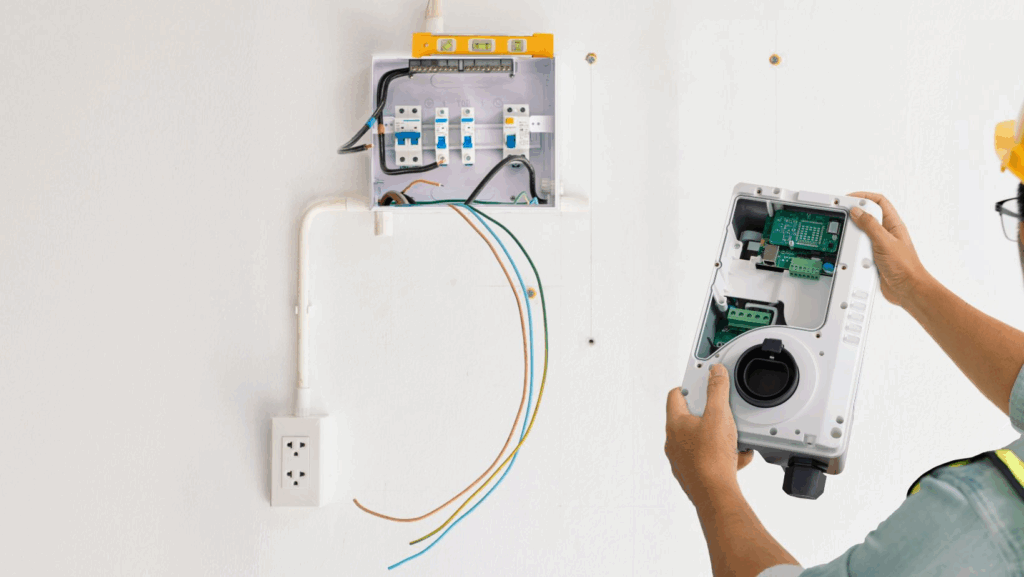
- Incorrect AC Input Wiring – Failing to properly connect the charger to your AC power source can result in tripped breakers or non-functioning units.
- Overlooking Drip Loops – In marine installations, it’s important to create a drip loop in your wiring to prevent water from running down the cable and into the charger.
- Ignoring Battery Type Settings – Many ProMariner chargers are programmable for battery types (AGM, Gel, Flooded, Lithium). Forgetting to select the right setting can damage your batteries over time.
- Skipping Post-Installation Testing – Always check voltages and charging status after installation to confirm that everything is working as intended.
Why Professional Installation Might Be Worth It
While many boaters and RV owners are skilled enough to install their own ProMariner marine battery charger, there’s no shame in calling in a professional. Marine electricians and RV service techs know the nuances of safe wiring practices and can ensure compliance with ABYC (American Boat & Yacht Council) or RVIA standards.
Professional installation not only saves time but also provides peace of mind that your investment is protected and your electrical system is reliable.
Long-Term Maintenance Tips
- Inspect Connections Regularly: Tighten any loose terminals and check for corrosion.
- Keep it Clean: Wipe down the charger periodically to prevent dust and grime buildup.
- Monitor Performance: Many ProMariner chargers have LED or digital readouts—use them to stay aware of your battery’s health.
- Update Settings as Needed: If you switch to a new battery type, update your charger’s settings accordingly.
Set It Up Right, Enjoy Power Without Worry
A ProMariner battery charger is designed to give you years of reliable performance, but only if it’s installed correctly. By following the do’s and don’ts above, you’ll not only protect your equipment but also ensure that your boat, RV, or specialty vehicle is always ready for the next adventure.
When it comes to marine and mobile power management, doing the job right the first time saves you money, time, and headaches later.
So take your time, follow best practices, and let your ProMariner marine battery charger do what it does best—deliver reliable, efficient power when you need it most.